
How to Hang a Bear Bag (and Why You Might Want a Canister Instead)
This post contains affiliate links. If you buy through them, we may earn a commission at no extra cost to you. As an Amazon Associate we earn from qualifying purchases.
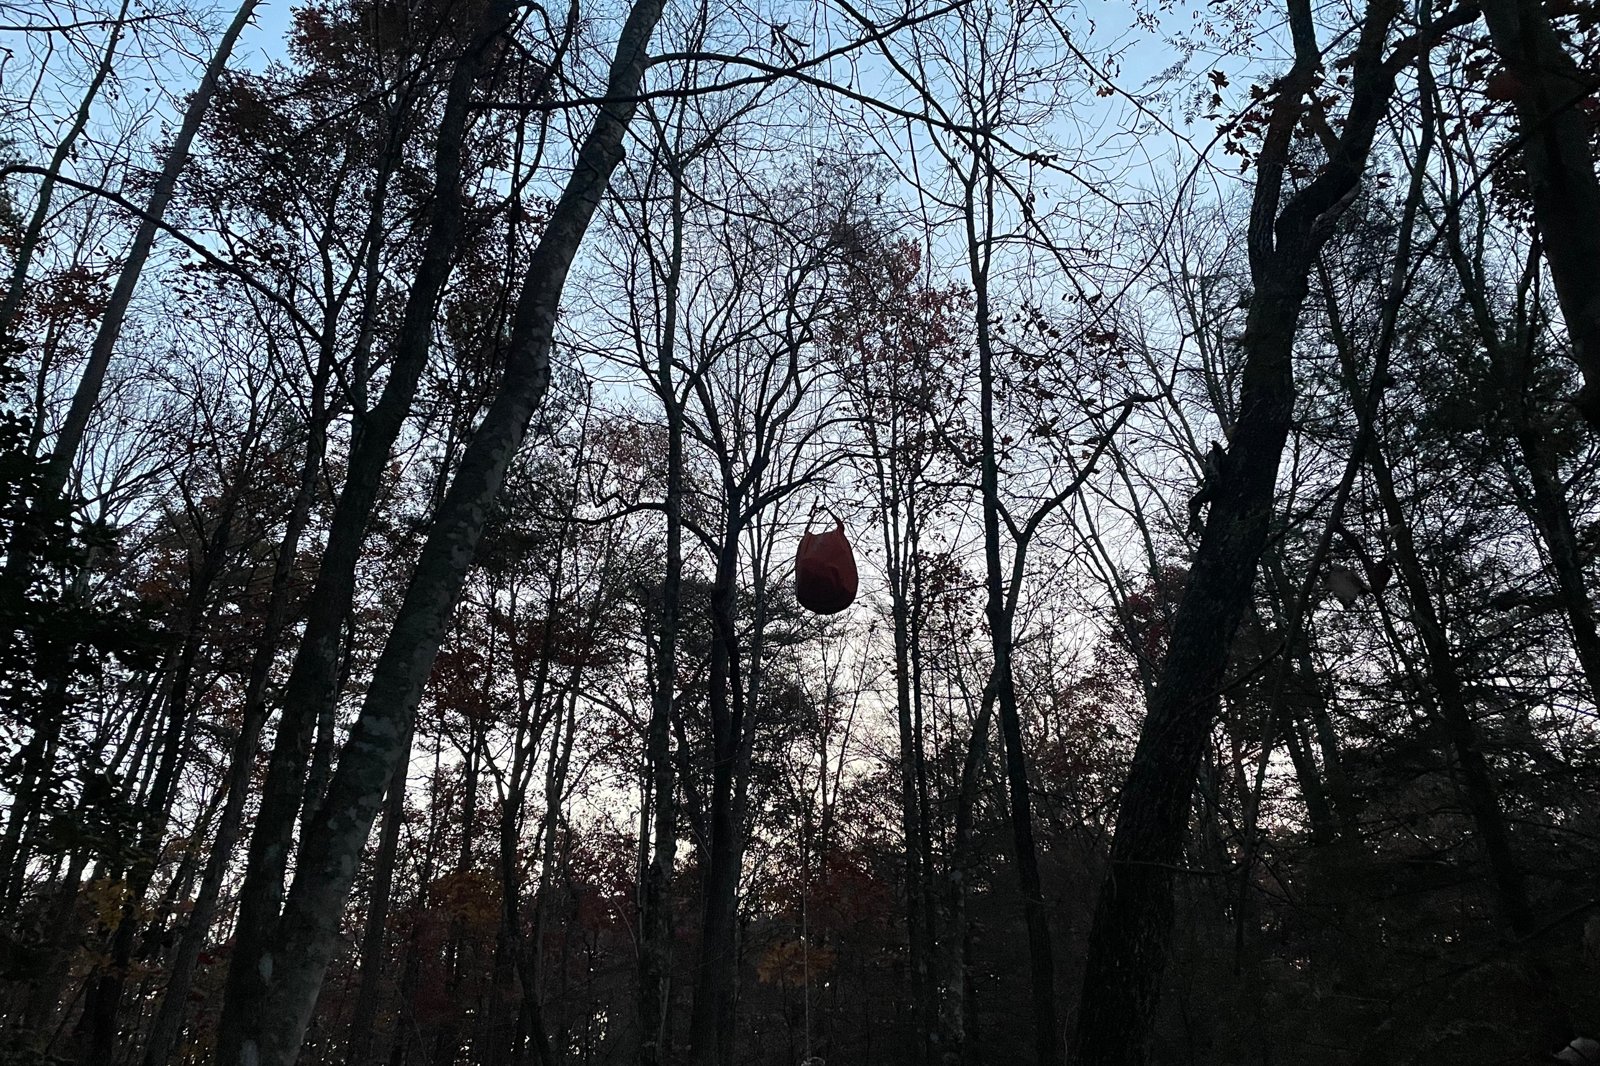
Hanging food from a tree is a classic backpacking skill, and it’s still allowed in plenty of places. But it’s harder than it looks, some bears have learned to beat it, and more trails now require a hard-sided bear canister. Leave No Trace has updated its advice: “We now recommend using hard-sided storage containers (a bear canister, storage locker, or vehicle when permitted)” first, with a hang as the backup.
The tips below are compiled from the National Park Service, the Forest Service, Leave No Trace (LNT), Backpacker, and the other published sources named throughout. We left out prices because they change. This is general advice, not training, and food storage rules vary by area, so check with the land manager for the place you’re visiting before you go.
1. Know how hangs fail
Sequoia and Kings Canyon National Parks reports that bears there “bit through branches, jumped down onto the food, and shook trees until one bag dropped low enough to reach,” then learned to beat the counterbalance method too. Many areas also lack suitable trees. LNT says some bears have learned that if they cut the retrieval line tied to a tree, they “earn a ‘food reward.’”
How high and how far out? Sources differ:
- 10 feet up, 4 feet out. The minimum in two Colorado national forest food storage orders. Backpacker says “at least 10 to 12 feet off the ground, and 4 feet out from the tree trunk.”
- 12 feet up, 6 feet out. LNT’s version, from the trunk or nearest branch.
- 15 feet up, 10 feet out. The Washington Trails Association’s (WTA) ideal, and the Inyo National Forest’s legal minimum for counterbalancing.
Where a rule sets the number, follow the rule.
2. Set up a camp triangle
LNT says your cooking area, sleeping area, and bear bag should form a triangle with sides of about 200 feet, and suggests storing food downwind of camp and kitchen. In grizzly country, distances grow: Alaska’s Wrangell-St. Elias National Park says to cook and eat at least 100 yards from your tent and food storage.
Both LNT and WTA say to hang your bag before dark.
3. Bag up every smellable
Yosemite’s list covers “all food and drinks, regardless of packaging, along with trash, toiletries, and other scented items,” including sunscreen, soap, medications, and lip balm. New York’s Department of Environmental Conservation (DEC) adds pet food. LNT warns that “People forget to pack their smellables.”
Sequoia and Kings Canyon also suggests leaving your emptied pack on the ground at night with its pockets open.
4. Get the right rope and sacks
- Cord. Backpacker suggests 50 to 60 feet of lightweight cord, WTA says 50 feet, and an older LNT guide says 100 feet.
- A food bag. A weatherproof stuff sack big enough for everything, per Backpacker and LNT.
- A rock sack. A small sack to hold a throwing rock. SectionHiker’s Philip Werner says mesh lasts longer than silnylon, which can “tear very easily.”
- A carabiner, plus a small stick if you’re doing the PCT method. LNT says to practice at home first.
5. Start with the simple one-rope hang
LNT and WTA describe it about the same way:
- Put a rock in your small sack and tie it to one end of the cord.
- Throw it over a branch that’s high enough and far enough from the trunk (see Tip 1). Keep others back, LNT says.
- Clip your food bag to the cord and hoist it.
- Tie the free end to a tree trunk or other anchor.
With no good branch, LNT describes hanging the bag from a cord between two trees. The weak spot is the tied-off line, which some bears have learned to cut.
6. Learn the PCT hang (or counterbalance)
The PCT method skips the tied-off line. Here’s Backpacker’s version:
- Find a solid branch about 20 to 25 feet high that sticks out 4 feet or more.
- Throw the weighted cord over it, then clip your food bag to the cord with a carabiner. Backpacker stresses clipping that carabiner around the free end of the rope too.
- Pull the bag up to the branch.
- Reach as high as you can on the free end, and tie a small stick there with a clove hitch.
- Let go. The bag drops a little and pulls the stick up until it jams against the carabiner, leaving no line within a bear’s reach.
The counterbalance method, as Sequoia and Kings Canyon describes it, splits food into two equal bags on one line over a branch about 20 feet up and 10 feet from the trunk, leaving both bags at least 12 feet high. The park warns this often fails there now.
7. Know where canisters are required
These places require a bear-resistant container. We read these rules on October 25, 2026; confirm before your trip.
- Yosemite National Park. “Hanging food is illegal throughout Yosemite,” the park says, and canisters are “required for overnight hikers throughout the wilderness.”
- Sequoia and Kings Canyon National Parks. Required in the Rae Lakes Loop area, Dusy and Palisades Basins, the Rock Creek drainage, and North Dome, and “strongly encouraged” throughout the wilderness.
- Inyo National Forest. Required in areas including Mt. Whitney, Cottonwood Lakes, Kearsarge Pass, Bishop Pass, and Little Lakes Valley. In the rest of its wilderness, counterbalancing is still allowed.
- Rocky Mountain National Park. A commercially made canister is required for all wilderness overnight trips from April 1 to October 31. The park says “Other methods of food storage are not permitted.” (A 2019 Andrew Skurka post said some lined Ursacks were allowed; ask.)
- Eastern High Peaks Wilderness, Adirondacks. Required April 1 to November 30. The DEC says “Non-rigid containers, sacks, or food hangs” don’t count.
- Appalachian Trail, Jarrard Gap to Neel Gap, Georgia. Required March 1 to June 1, and the canister must be made of “solid, non-pliable material,” per the Appalachian Trail Conservancy.
- Olympic National Park. Required in “all wilderness areas of the park.” The Pacific Northwest Trail Association says that’s new for 2026; before, only the High Divide area and Wilderness Coast required them.
Soft bags like the Ursack? It depends. Some Colorado national forest orders accept anything on the Interagency Grizzly Bear Committee (IGBC) certified list, and the Ursack Major appears on that list, so it appears to qualify there. But Outdoor Life says Ursacks aren’t allowed in Yosemite, Sequoia and Kings Canyon, Olympic, Big Bend, or Bryce Canyon.
Two approval lists matter. The IGBC certifies containers using live grizzlies; its list is current as of July 2026. The Sierra Interagency Black Bear Group (SIBBG) list is older: CleverHiker says SIBBG “is no longer active,” though some areas still use its list, and the Sierra site hosting it was down when we checked. Your best bet is the land manager’s own list.
8. Use your canister the right way
- Set it away from camp, on level ground. Distances vary: Yosemite’s current page says at least 100 feet from your campsite, Rocky Mountain says 200 feet (about 70 adult steps), and the DEC says 100 feet from both your tent and cooking area.
- Keep it away from cliffs and water. A bear can roll it, Yosemite warns, and the DEC says canisters don’t float.
- Don’t tie anything to it, Yosemite says, but you can set pots on top as an alarm.
- Keep it closed and locked, even when you’re around camp, per Yosemite.
- Test-pack at home. LNT says to make sure everything fits. CleverHiker suggests repacking food into smaller, flexible bags, and carrying a coin if your lid needs a tool.
- Still cook away from your tent, using the triangle in Tip 2.
9. Three canisters reviewers and agencies back
All three of these are on Yosemite’s allowed list and IGBC certified. Each has a catch.
BearVault BV450 and BV500. CleverHiker calls the BV450 its affordable and lightweight pick (2 pounds 1.2 ounces and 7.2 liters by its measure) and names the BV500 its best for weight-to-capacity (2 pounds 8.9 ounces and 11.5 liters), saying the BV500 holds “up to a week’s worth of food for a solo hiker.” Outdoor Life notes BearVaults open without tools. The catch: they’re see-through, and the DEC says clear plastic canisters “have repeatedly been defeated by bears” in the Eastern High Peaks. CleverHiker says the clear walls can attract bears and the lid is hard to open in cold weather, and Skurka calls the BV500 “heavy and cumbersome.”
Find the BearVault BV450 and BV500
Counter Assault Bear Keg. Outdoor Life names it the most widely accepted canister, and CleverHiker says its 11.7-liter shell “barely flexes.” The catch: it’s heavy, at more than 3.5 pounds by both reviewers’ measures, and you need a coin or similar tool to open it.
Find the Counter Assault Bear Keg
Bare Boxer Contender. SectionHiker’s Werner calls it “the smallest volume and lightest weight bear canister available today,” at 26.3 ounces and about 4.5 liters by his measure, enough for two to three days. Its bigger sibling, the Champ, is CleverHiker’s top pick for wilderness approval and “easily one of the most secure bear canisters we’ve tested.” The catch: the Contender is small, and both models need a tool to open; SectionHiker says a narrow blade or screwdriver.
A note on the Ursack Major. Where soft bags are allowed, this is the light option: CleverHiker names it the best bear bag (7.6 ounces by its measure), and it’s IGBC certified. The catch: CleverHiker says “the Ursack isn’t 100% foolproof,” it isn’t crushproof, and it isn’t allowed in some of the places listed above. Find the Ursack Major
Our trail pages flag canister rules where we could confirm them, so check the page for your trail before you pack.