
Are You Using Trekking Poles All Wrong?
This post contains affiliate links. If you buy through them, we may earn a commission at no extra cost to you. As an Amazon Associate we earn from qualifying purchases.
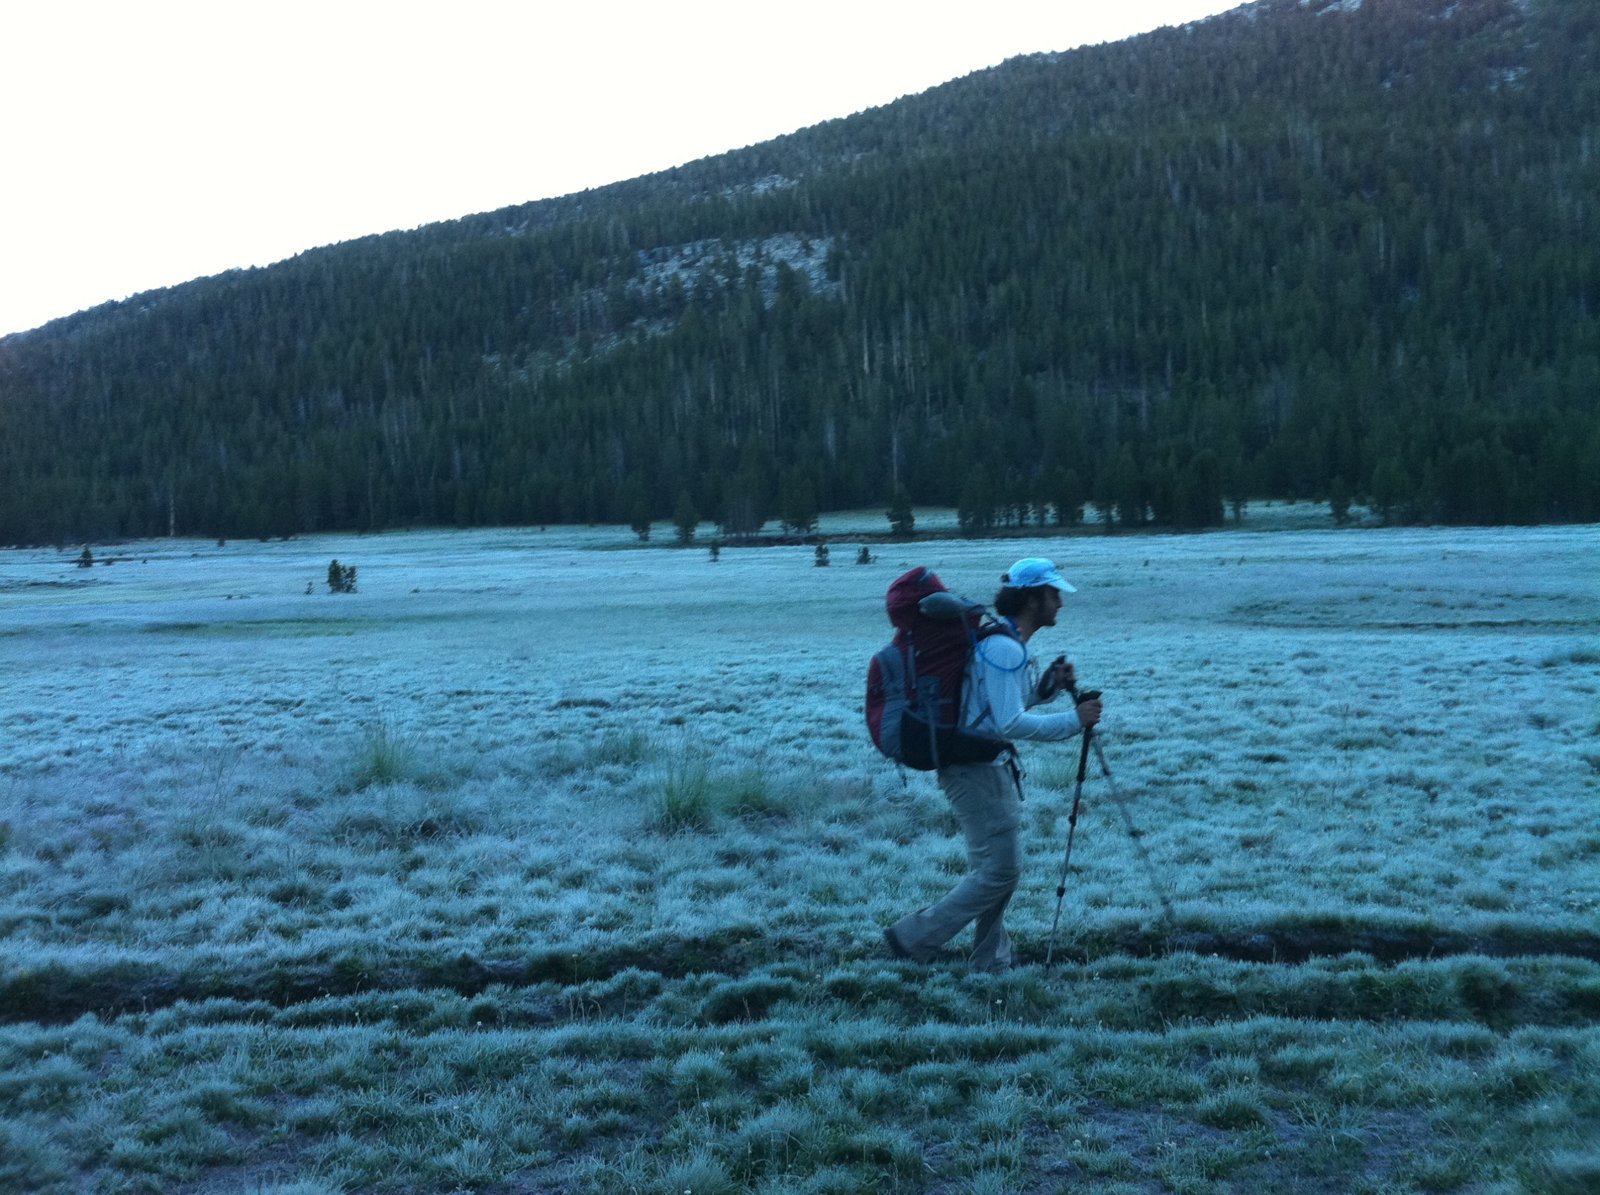
Plenty of hikers carry trekking poles for miles without ever adjusting the length, threading the straps, or checking the locks. That’s a lot of carrying for not much help. A few small habits can make the same pair of poles noticeably more useful.
The tips below are compiled from REI, Backpacker, and the other published sources named throughout. We left out prices because they change. This is general advice, not medical advice: if you have knee or joint problems, ask a clinician how poles fit into your hiking.
1. Set the length on flat ground, then change it for hills
Start with the tip on the ground near your foot and set the pole so your elbow bends about 90 degrees. REI, the Washington Trails Association (WTA), and Michael Lanza of The Big Outside all give that same starting point. A 2016 Backpacker article adds that “It’s more important to be comfortable” than to hit a perfect right angle.
On long climbs, shorten the poles. REI and Lanza both suggest about 5 to 10 centimeters, and more on steeper grades. On descents, lengthen them by about the same amount, which REI says helps you “keep your body more upright for better balance.”
2. Go up through the strap, not down into it
The strap is meant to carry some of your weight. REI says to “put your hand up through the bottom of the strap and then pull down and grab the grip of the pole.” Backpacker says the strap should then lie “smoothly across the back of your hand,” and Lanza adds wrapping your thumb over the strap so you can lean on the pole without squeezing it.
There’s one exception. WTA suggests taking your wrists out of the straps in boulder fields so you can catch yourself if a pole gets stuck, and Lanza sometimes does the same on steep, rocky descents.
3. Hold loosely, and choke down on steep sections
If the strap is set right, you don’t need a death grip. Backpacker warns that gripping tightly “can create strain all the way up your arm to your neck,” and WTA says you “shouldn’t have to grip the handle too tightly.”
On short, steep pitches, you don’t always have to stop and readjust. Switchback Travel recommends the choke-up extensions (the foam or cork below the main grip) for a lower hold on steep climbs and sidehills. Lanza notes that poles with extended grips let you hold them below the handle on very steep uphills.
4. Keep a natural rhythm: opposite arm, opposite leg
Lanza describes the basic pattern: “right arm forward with the left foot, left arm with the right foot.” On flat or gently rising ground, he plants the pole behind his back foot and pushes off, keeping his elbow bent, because “A straight arm doesn’t convey much leverage onto the pole.” Backpacker’s advice is similar: keep your arm swing natural, since poles help most when you keep walking normally.
Placement matters on tricky ground. Backpacker suggests planting poles more upright on slick surfaces, because angled poles slip more easily. On a steep side-hill traverse, WTA suggests using only the uphill pole, and testing a pole before you trust it on unstable ground.
5. Know your locks, and check them before you start
REI describes three common types. Lever locks are clamps that adjust quickly, even with gloves on. Twist locks use an expander and screw. Push-button locks snap into place, and some of those poles don’t adjust in length. REI says all of them can loosen over time, so check them before each hike.
Switchback Travel calls lever locks the current standard and says they’re more secure than twist locks, which can be over- or under-tightened and pick up grit. It also notes that levers can pop open in heavy brush. For twist locks, Lanza turns until he feels the cam tighten, then adds “just another quarter-turn.” Lever locks have a small tension screw that only needs slight adjustment, he says.
6. Let the poles take some of the load on descents
REI says trekking poles “can reduce force on your knees while hiking and backpacking.” A small study presented at a 2005 biomechanics conference by Bohne and colleagues tested 15 experienced male hikers walking downhill and found lower joint moments at the ankle, knee, and hip when they used two poles, with and without packs. That’s one small study of one group on descents, so treat it as encouraging rather than settled. Lanza says that on steep descents he uses poles for balance and to reduce the impact of constantly stepping down.
If your joints are a concern, REI notes that some poles have internal springs to absorb shock on descents and “particularly” recommends them for people with unstable or previously injured hips, knees, or ankles.
7. Use them for fords and snow, and know how they fail
Poles can steady you in moving water. Backpacker suggests lengthening them for deeper crossings and making sure the tips are “planted securely on the river bottom.” For snow or mud, REI says you can swap the small stock baskets for larger ones.
If a carbon pole gets wedged between rocks, Switchback Travel says to pull it straight up rather than forward at an angle. It notes that carbon can crack or snap under load more readily than aluminum.
8. Go easy on rocks and plants
The Appalachian Mountain Club says “The metal carbide at the ends of trekking poles can leave unsightly scars” on rock, and suggests rubber tips “when possible,” fitted snugly so they don’t fall off. REI adds that rubber tip protectors extend the life of the tips and protect your gear when the poles are packed. The AMC also suggests removing baskets in dense vegetation, since they snag plants, and using poles only when you need them in mud or loose dirt.
9. Don’t break the bank
Lightweight, durable poles don’t have to be expensive. Here are three budget picks that independent reviewers recommend, each with a different strength: a carbon pair, a tough all-rounder, and a very light aluminum pole. None is perfect, so read the catch before you choose.
Cascade Mountain Tech Carbon Fiber Quick Lock. Backpacker names it the most affordable carbon fiber pick, calls it durable and lightweight (about 8 ounces per pole by its measure), and reports no broken poles after four years of testing. The catch: Backpacker says the hardware feels cheap. OutdoorGearLab found the locks slipped and the poles could collapse under weight, and Switchback Travel sums them up as “Not built to last.”
Find the Cascade Mountain Tech Carbon Fiber poles
Trekology Trek-Z 2.0. OutdoorGearLab names it its best buy on a tight budget and calls it highly durable, comfortable, and compact when folded. CleverHiker calls it its best budget buy, praising the easy lever lock and the extras that come with it, including winter baskets and two kinds of tip covers. The catch: it’s not light. CleverHiker found it the heaviest pole in its test, and OutdoorGearLab says it won’t meet ultralight needs.
Find the Trekology Trek-Z 2.0 poles
Fizan Compact 3. Backpacker names it the best budget ultralight pole, about 5.6 ounces per pole by its measure. CleverHiker calls it one of its favorite budget poles and says the aluminum bends rather than breaks when a pole jams between rocks. The catch: Backpacker says the twist locks “can be iffy,” and CleverHiker found that segments can get stuck and the straps come loose easily.