
Side Sleeper Waking Up Sore in Your Tent? Try These Fixes
This post contains affiliate links. If you buy through them, we may earn a commission at no extra cost to you. As an Amazon Associate we earn from qualifying purchases.
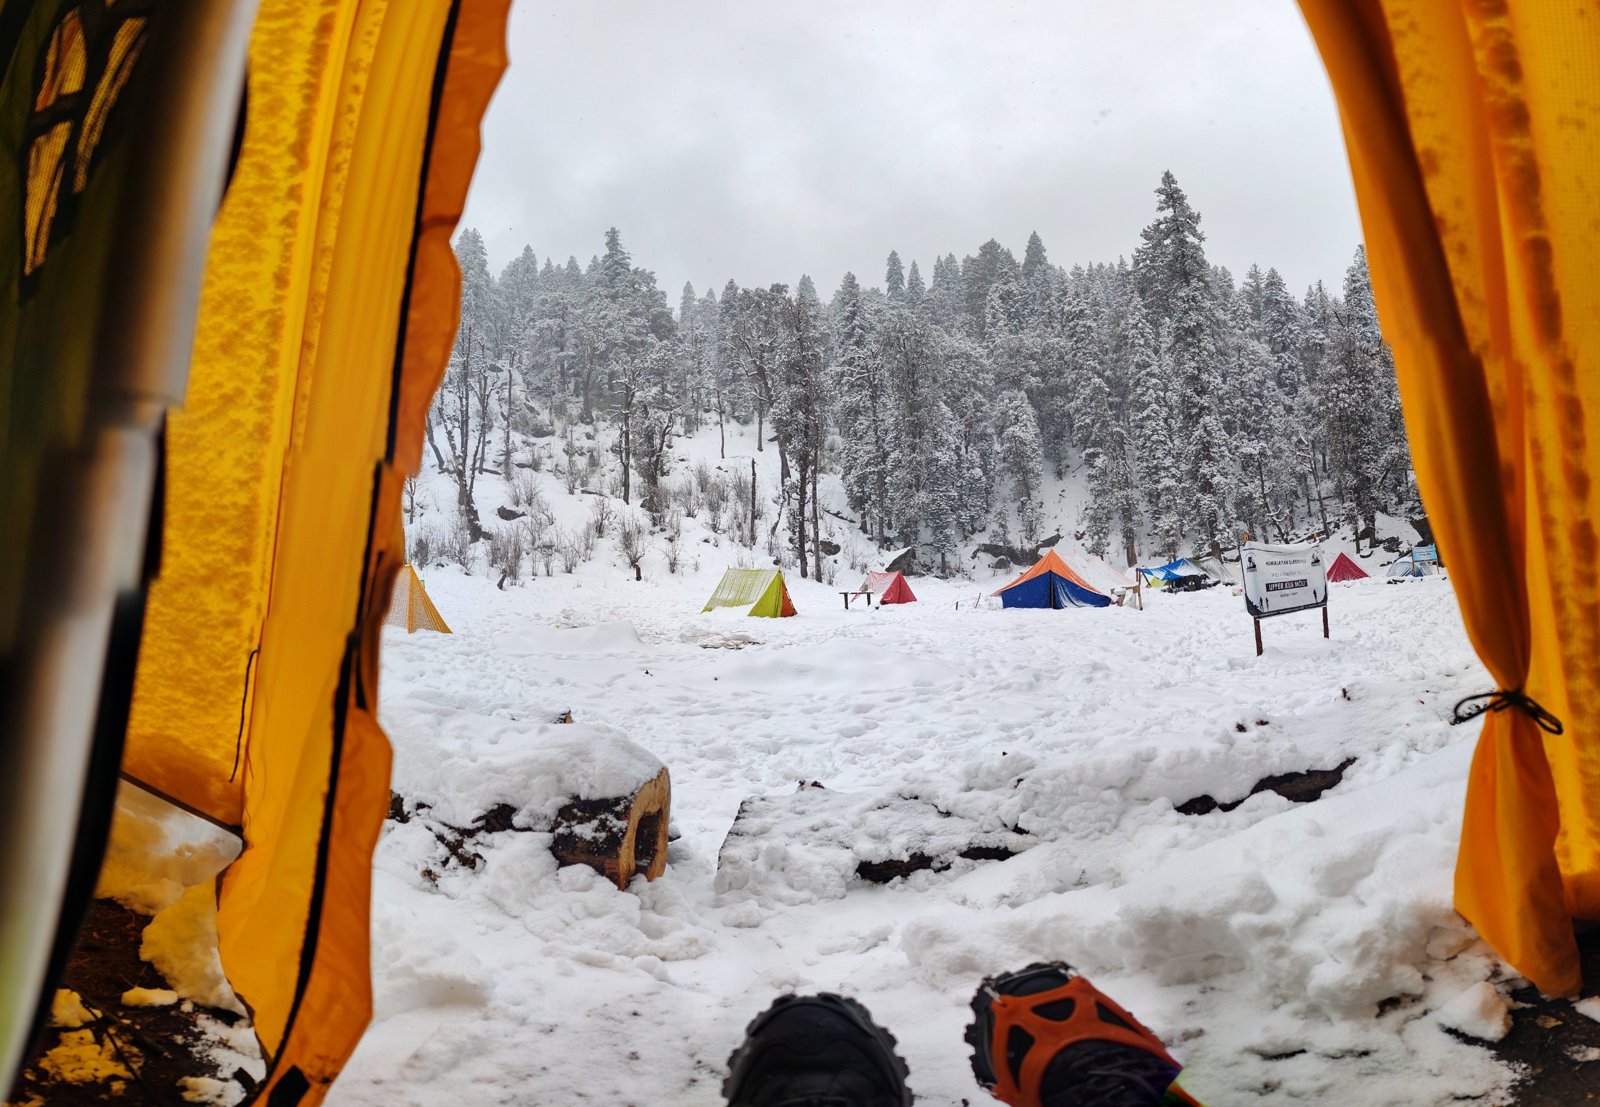
When you sleep on your side, a shoulder and a hip carry most of your weight. Advnture points out that the hips take the most, so on a thin pad they end up “pressing against cold, hard ground all night.” The good news is that most of the fixes are simple, and a few cost nothing.
The tips below are compiled from gear testers, REI’s expert advice, and other published sources named throughout. We left out prices because they change often. This is general gear advice, not medical advice. If hip, shoulder, or back pain follows you home, talk to a clinician. As a 2001 Backpacker article put it, if you sleep poorly at home, a camping trip is unlikely to fix it.
1. Get a thicker pad
REI’s sleeping pad guide says side sleepers “typically prefer more cushioning to support their shoulders and hips,” and that about 4 inches is a common preference. Some ultralight pads are only about 2.5 inches thick. The Great Outdoors magazine agrees that thicker mats are more comfortable for side sleepers.
Two pads CleverHiker singles out for side sleepers are the NEMO Tensor All-Season, which it calls “exceptionally comfortable” with enough thickness for hips and shoulders, and the Big Agnes Rapide SL Insulated, whose thick center and taller side rails give side sleepers “generous cushioning,” according to CleverHiker. OutdoorGearLab’s testers said their hips didn’t sink through the Tensor All-Season and they never felt a rock under a hip. For more options, see our guide to five sleeping pads backpackers love.
2. Go wider, and look for pads that keep you centered
Side sleepers bend their knees and stick out their elbows, so a narrow pad can leave a knee or arm hanging off the edge. REI suggests a 25- or 30-inch-wide pad for people who want more room or roll around a lot, but warns you to check that your tent fits it. Cascade Designs, Therm-a-Rest’s parent company, lists its standard Regular width as 20 inches and its Regular-Wide as 25 inches. REI also notes that rectangular pads give more room to move than mummy or tapered shapes.
Construction matters too. Advnture recommends a thicker inflatable with smaller cells, since large cells can feel lumpy and let you roll off. Raised outer edges help as well. Treeline Review says the Rapide SL Insulated’s taller outer chambers help keep you centered.
3. Dial in the inflation
Air pads lose pressure as the night gets colder, so REI advises you to “check and adjust the firmness right before you go to sleep” by adding or letting out air. One side sleeper on a hiking Q&A forum says they inflate until their hip sits about an inch off the ground. With less air, the hip touches the ground and gets cold, and with more, the pad feels too firm. They also add a small puff of air during cold nights. Treat that as one person’s method and experiment on your own pad.
4. Add a foam pad underneath on cold or rough ground
R-values add up when you stack pads, so REI recommends a closed-cell foam pad under an air pad. The foam adds warmth, protects against punctures, and works as a backup if the air pad fails. CleverHiker says the NEMO Switchback “adds insulation, protects an air pad from sharp ground.” Use it as an underlayer, not by itself. The Great Outdoors tells side sleepers to avoid sleeping on foam alone, and CleverHiker says the Switchback by itself “can create pressure points for side sleepers.”
5. Give your head real height
Advnture notes that side sleepers need neck support and that “a lot of camping pillows are too thin, not firm enough” to provide it. Treeline Review says a loft under 4 inches generally suits back and stomach sleepers better, so side sleepers should look for taller pillows. Its “Best for Side Sleepers” pick is the Exped Mega Pillow, for people who don’t mind carrying a larger, heavier pillow. It also calls the Sea to Summit Aeros Premium pillow “an excellent choice for side sleepers.”
On a budget, Advnture suggests stuffing clothes into your sleeping bag’s stuff sack. The Great Outdoors warns that this can get lumpy and shift during the night. Treeline suggests a few ways to stop a pillow from sliding: a strip of adhesive Velcro, a pillow that attaches to the pad, or a contoured shape. Letting a little air out of an inflatable pillow can also make it feel less bouncy.
6. Put something between your knees
Advnture recommends a pillow between your knees to keep your pelvis and spine aligned. To save weight, roll up a fleece or down jacket instead. If you’re already using clothes as a head pillow, your camp pillow can go between your knees. The Sleep Foundation says a knee pillow “can help keep your spine in a more natural, neutral position” for side sleepers, though it hedges and doesn’t cite a trial of knee pillows directly.
7. Choose a bag or quilt that lets your knees bend
Advnture says a mummy bag is tight around the hips and legs and “doesn’t give you enough room to bend your knees.” The Great Outdoors says close-fitting mummy bags “may not be a good choice for side-sleepers or if you toss and turn,” while quilts “offer unrestricted movement.” If you go with a quilt, CleverHiker recommends sizing up one width if you’re a side sleeper. Quilts have no hood, so wear a warm hat to bed.
If you’d rather have a bag, look at the NEMO Disco 30 Endless Promise (also sold in a women’s version). REI’s listing says its Spoon shape “adds room at elbows and knees.” In a 2022 review of an earlier Disco, T3 said it was designed with side sleepers in mind and that the reviewer could roll over and partly raise their knees without dragging the bag along. More picks are in our guide to five sleeping bags backpackers love.
8. Pick flat, soft ground, and keep your head uphill
The Great Outdoors recommends a “flat, well-drained spot with soft grass or moss to cushion you” and warns against lumpy or boggy ground. If you can’t find level ground, Advnture says the most common advice is to sleep with your head uphill. That can help you avoid waking up with a headache and keep you from rolling onto your downhill side.
9. Listen before you buy
Side sleepers shift around a lot, so a noisy pad can matter more to them. REI warns that some fabrics and reflective insulation make “loud, crinkly sounds” and suggests lying on a pad in the store if noise bothers you. CleverHiker calls the Tensor All-Season “quiet for an insulated air pad.”
10. Do a trial night at home
A 2001 Backpacker article passes along a sleep specialist’s suggestion: sleep in your tent at home before the trip so you get used to sleeping on the ground. It’s also a low-stakes way to test your pad’s inflation, pillow height, and knee pillow.